This guide gives an overview on how to restrict an IAM user’s access to a single S3 bucket.
Click on “My Account/Console” and select “Security Credentials”.

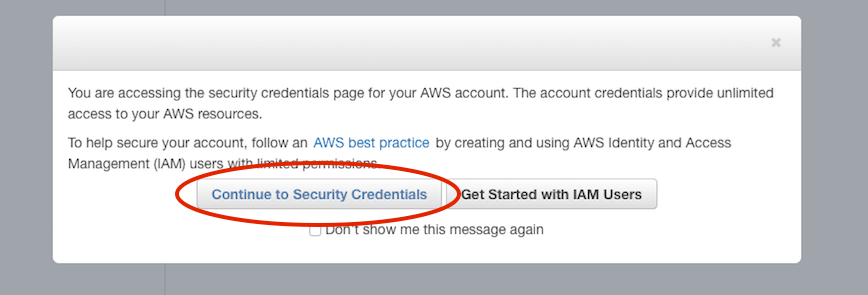
Select “Continue to Security Credentials”.
Select “Policies” on the left menu, then click “Create Policy”.

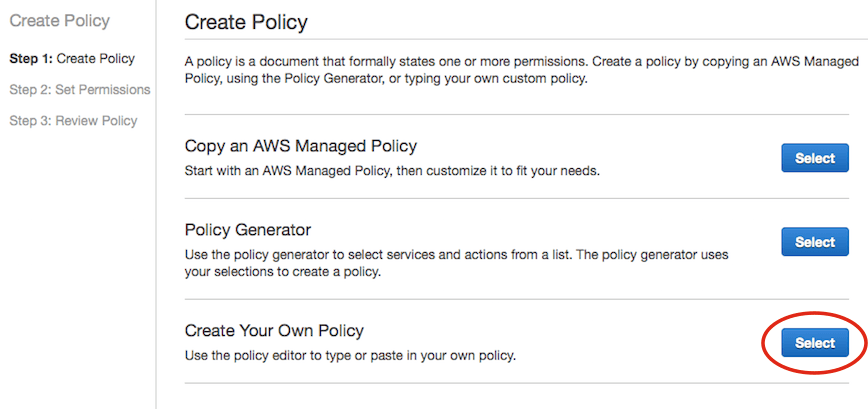
Select “Create Your Own Policy”.
Fill out the “Policy Name”, “Description” and “Policy Document” fields.
Replace “YOUR-BUCKET” in the example below with your bucket name.
Note: The "s3:ListAllMyBuckets" is used to list all buckets owned by you, so that tools that list buckets will work.
The "s3:GetBucketLocation" is needed so that ObjectiveFS can select the right S3 endpoint to talk with.
Example policy:
{
    "Version": "2012-10-17",
    "Statement": [
        {
            "Effect": "Allow",
            "Action": [
                        "s3:GetBucketLocation",
                        "s3:ListAllMyBuckets"
                      ],
            "Resource": "arn:aws:s3:::*"
        },
        {
            "Effect": "Allow",
            "Action": "s3:*",
            "Resource": [
                "arn:aws:s3:::YOUR-BUCKET",
                "arn:aws:s3:::YOUR-BUCKET/*"
            ]
        }
    ]
}
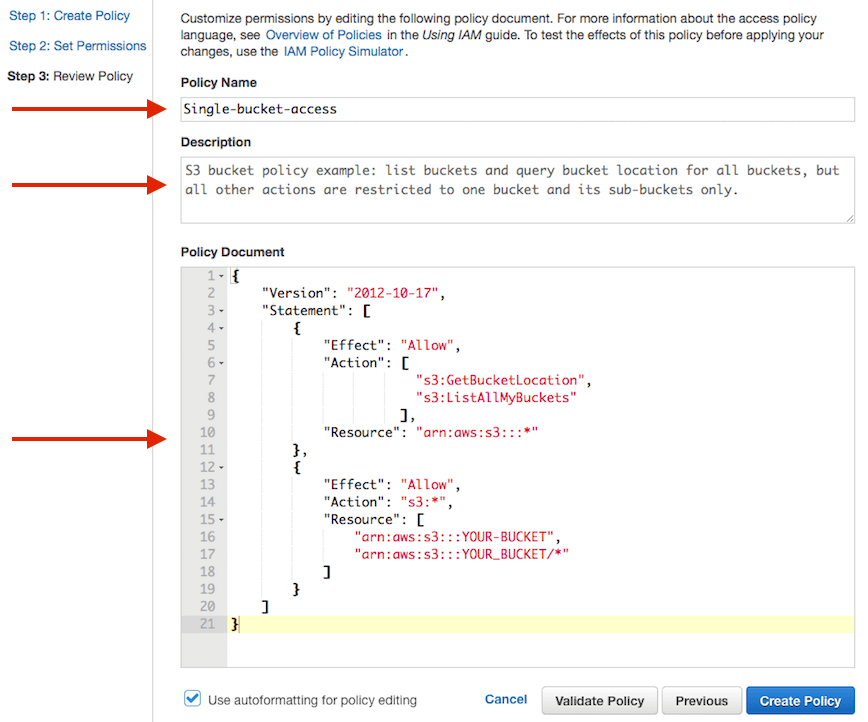
Your new policy is created after you click “Create Policy”.

Select “Groups” on the left hand menu bar, and click on “Create New Group”.

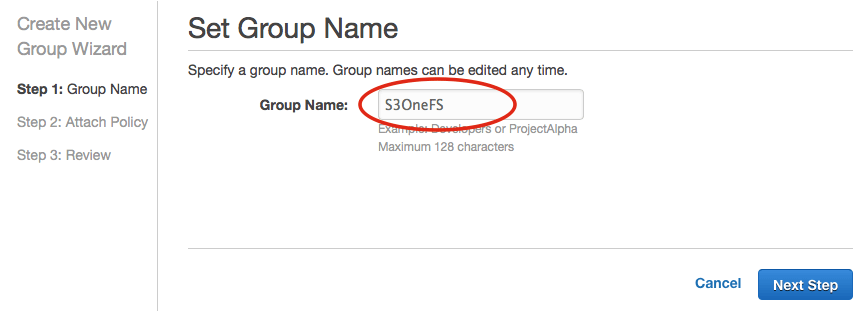
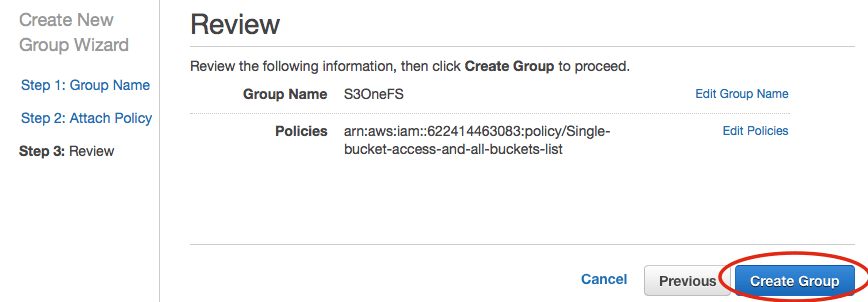
Enter a group name, e.g. S3OneFS.
Search for the policy name that you just created, e.g. single-bucket-access-and-all-buckets-list
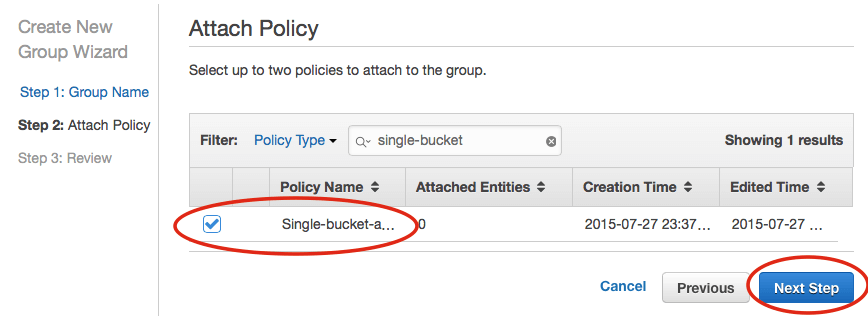
Next, select “Create Group”.
Select the group that you just created, e.g. S3OneFS, and click “Group Actions”. Select “Add Users to Group”.

Then, select your user, e.g. ObjectiveFS, and click “Add Users”.

You can now use your “Access Key ID” and “Secret Access Key” to run ObjectiveFS restricted to a single bucket.
last updated by ObjectiveFS staff, March 7, 2025
ObjectiveFS is a shared file system for OS X and Linux that automatically scales and gives you scalable cloud storage.
If you have questions or article idea suggestions, please email us at support@objectivefs.com